
nashi Team
5 min read

You've built your Shopify store, loaded your products, and got your first online orders. Then you book a pop-up booth--and realise cards are a different problem entirely.
Your Shopify checkout works perfectly online. In person, the setup is different. Shopify POS handles in-person sales, but card acceptance, rates, and workflow all need decisions before you arrive at the booth.
This guide covers two paths for Singapore Shopify merchants at pop-ups. You have two options: Shopify's native in-person payments, or an external Tap to Phone app paired with Shopify POS. Both work--which one suits you depends on your volume and how much manual overhead you want.
Singapore pop-ups attract a mix of local shoppers and expats who pay by card as often as by PayNow. Not accepting cards at your booth means lost sales--no Shopify checkout link makes up for it. A clean in-person setup fixes that gap and keeps your Shopify inventory in sync at the same time.
What Shopify gives you for in-person payments
Shopify POS Lite comes free with every paid Shopify plan. It runs on your phone or tablet, connects to your existing product catalog, and tracks sales alongside your online orders. No separate subscription is needed for pop-up selling.
Two card acceptance routes exist for merchants in Singapore. You can use Shopify Payments with their supported card reader. Or use Tap to Pay on Android. Contactless cards tap directly on your NFC-enabled Android phone, no hardware required.
Shopify Payments for POS is available in Singapore. Eligible merchants can accept cards in person through Shopify without a third-party processor.
In-person card rates
Shopify's in-person card rates depend on your plan:
Plan | Monthly fee | In-person rate |
|---|---|---|
Basic | $39 SGD/month | 3% + $0.50 SGD |
Grow | $132 SGD/month | 2.9% + $0.50 SGD |
Advanced | $531 SGD/month | 2.75% + $0.50 SGD |
These rates apply when you use Shopify Payments. Using a third-party provider adds a Shopify surcharge: 2% on Basic, 1% on Grow, 0.6% on Advanced.
There is one exception: custom payment methods. When you collect payment externally and record it in Shopify POS as a custom payment, no Shopify transaction fee applies.
Shopify isn't processing the payment. It's just logging the sale. This is the core of the nashi workflow later in this guide.
Shopify Payments Tap to Pay on Android
Shopify Payments Tap to Pay on Android is a fully integrated option for Singapore merchants. Your phone becomes the card terminal. Sales record directly in Shopify, inventory updates immediately, and there's nothing to reconcile separately.
The trade-off is rate. On the Basic plan, you pay 3% + $0.50 SGD per tap. On a $120 sale, that's $4.10 in fees.
This works best on a higher Shopify plan, for merchants with high volume, or anyone who wants a single-app checkout. If you're on Basic and doing occasional pop-ups, compare the rates in the next section.
The alternative: nashi + Shopify POS custom payment
Disclosure: nashi is our own product. We've included it because we believe the setup genuinely serves Shopify merchants--but you should know we're not a neutral party.
nashi is a Tap to Phone app for NFC-enabled Android phones. No card reader, no Bluetooth, no hardware to order or carry. Download the app, complete digital KYC in-app, and you're set up to take cards.
Rates start from 1.99% + $0.30 for Singapore-issued Visa and Mastercard. Amex and international cards are 3.3% + $0.30. There's no monthly fee. You pay only on transactions you process.
Here's how the rates compare on a $120 sale:
Fee on a $120 sale | |
|---|---|
Shopify Payments (Basic) - 3% + $0.50 SGD | $4.10 |
Shopify Payments (Grow) - 2.9% + $0.50 SGD | $3.98 |
nashi (from 1.99% + $0.30) | From $2.69 |
The nashi workflow uses two apps. nashi processes the card payment. Shopify POS records the sale as a custom payment and deducts from inventory.
No Shopify transaction fee applies to the recording step. Shopify isn't processing the payment. It's logging the order.
The trade-off is a two-app checkout rather than one. At busy booths, the extra step takes roughly ten seconds per transaction. A few extra seconds per checkout; the fee saving across a full day makes up for it.
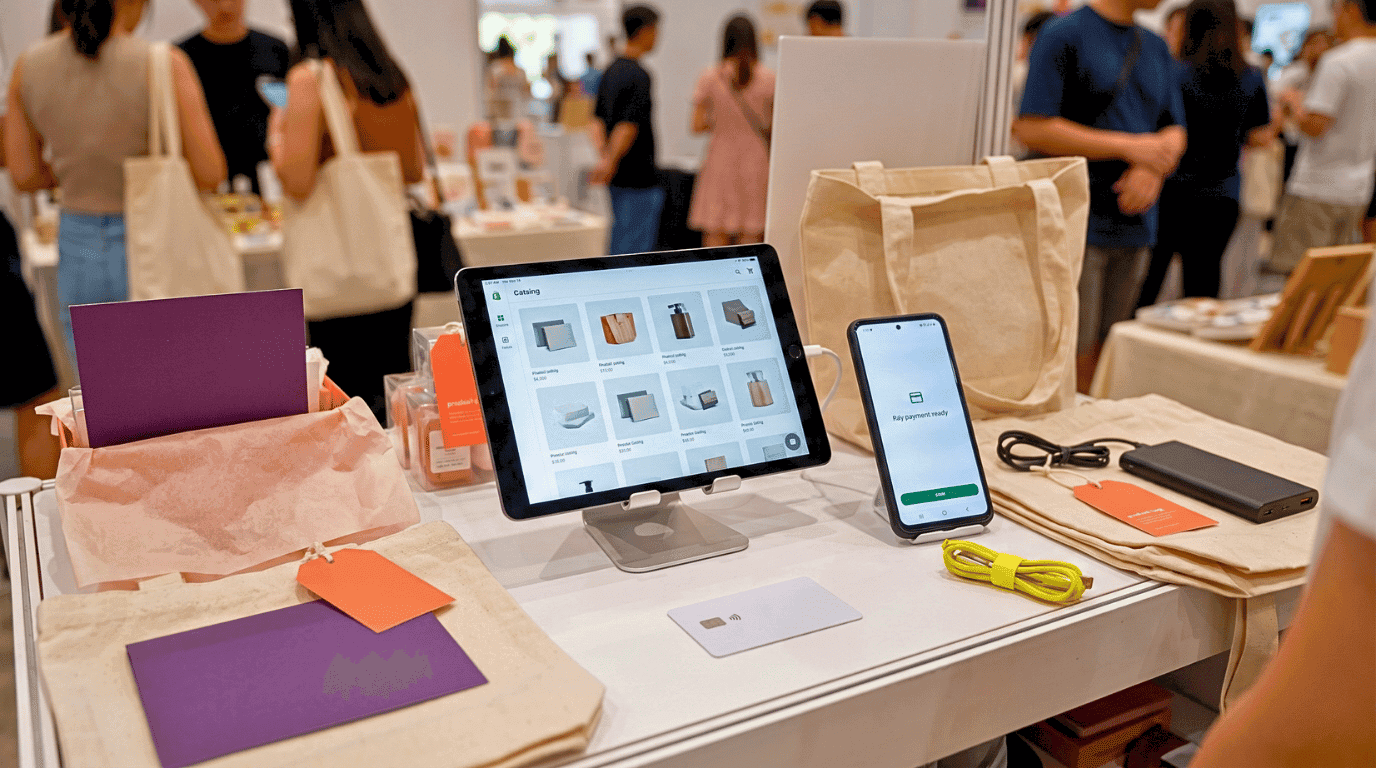
Before the pop-up: What to set up
Step 1: Get approved on nashi
Download the nashi app on your NFC-enabled Android phone. KYC is entirely in-app: upload your NRIC or business registration documents when prompted. Approval typically takes one business day.
New merchants get a free trial covering up to $1,000 in fee-free transactions. That covers a full small pop-up before you pay anything.
Apply at least three days before your event. The night before is too late.
Once approved, run a test transaction. Tap a contactless card on your phone and confirm NFC reads correctly. Refund the test charge immediately from the nashi app.
Step 2: Prepare Shopify POS and your product catalog
Open Shopify POS on your phone or a tablet. Log in and confirm every product you're bringing to the pop-up is in your catalog. Check prices, variants, and SKUs.
POS Lite is free on every paid Shopify plan. No upgrade needed for pop-up selling.
To track pop-up stock separately from your online store, go to Settings > Locations in your Shopify admin. Add a pop-up location and assign inventory to it. Shopify deducts from that location's stock when orders are recorded in POS--your online inventory stays accurate.
Step 3: Add a custom payment method in Shopify POS
In your Shopify admin, go to Settings > Payment providers. Scroll to Manual payment methods and click Add manual payment method.
Name it something clear. "Card (nashi)" or "Tap to Phone" works well. This label appears during checkout in Shopify POS and in your order history.
After the event, filter your Shopify orders by this method. It separates pop-up card sales from online orders and cash sales. Custom payment methods carry no Shopify transaction fee because the funds don't flow through Shopify's system.
Before your first real customer, run the checkout flow end-to-end in test mode. Add a product to the cart, tap through to the custom payment screen, and check the flow feels natural. Small setup problems are best found the day before, not on pop-up day.
Step 4: Add PayNow as a second custom payment method (optional)
Pop-up shoppers in Singapore often prefer PayNow for smaller purchases. Download your PayNow QR code from your bank's iBanking or mobile banking app and display it at the booth.
Add a second custom payment method in Shopify POS named "PayNow". When a customer pays via PayNow, select this method at checkout.
PayNow transfers arrive directly in your bank account with no fee. Recording them in Shopify POS keeps your order history complete across all payment types.
Step 5: Pack your kit
The physical setup for this workflow is minimal. You need your NFC-enabled Android phone and a portable charger. Both apps drain the battery faster than normal. An optional tablet works if you prefer a two-device setup.
Bring a printed PayNow QR code as a backup in case your phone screen is blocked or wet. Keep a paper notepad for order tracking (at busy booths, both devices can fail at once).
Make sure you can pass the phone to a customer for a tap without stepping behind the table. Test the booth layout before doors open. A few minutes of layout planning prevents awkward moments during the busiest part of the day.
At the pop-up: Your checkout flow
You'll run nashi and Shopify POS simultaneously. On a single phone, both apps stay open in the background and switching is instant. On a two-device setup, phone for nashi and tablet for Shopify POS, the flow is even smoother.
Step 6: Build the cart in Shopify POS
When a customer is ready to pay, open Shopify POS and search for the product. Tap to add it to the cart and apply any discount codes or event promotions.
Confirm the total with the customer before moving to payment. Mistakes are easier to catch now than after a card tap.
Step 7: Process the card on nashi
Switch to the nashi app and enter the transaction amount. Hold the back of your Android phone toward the customer's card or device.
NFC reads the card in under two seconds. nashi confirms the payment on-screen and sends a digital receipt to the customer's email or phone. The transaction appears in your nashi dashboard immediately.
Step 8: Record the sale in Shopify POS
Return to Shopify POS. At the payment screen, select your custom payment method--"Card (nashi)". Mark the order as paid.
Shopify saves the order, deducts stock from inventory, and records the sale alongside your online orders. Send a Shopify receipt from the POS screen if the customer wants one.
This step takes about five to ten seconds. By your fifth or sixth sale, the two-app flow feels fast.
Step 9: Pace yourself at peak moments
Queue management matters more than payment speed at popular pop-ups. Keep the nashi app open in the background between sales so it doesn't need to reload.
Keep a portable charger connected through the event. Running both apps drains the battery faster than normal use.
Keep a simple paper tally as a backup. At busy booths, phones get knocked, tables get bumped, and wifi can drop. A paper record takes seconds and saves confusion later.
After the pop-up: Reconciling your records
Reconciliation after the event is straightforward if you ran the two-app flow cleanly. Set aside 15 minutes while everything is still fresh.
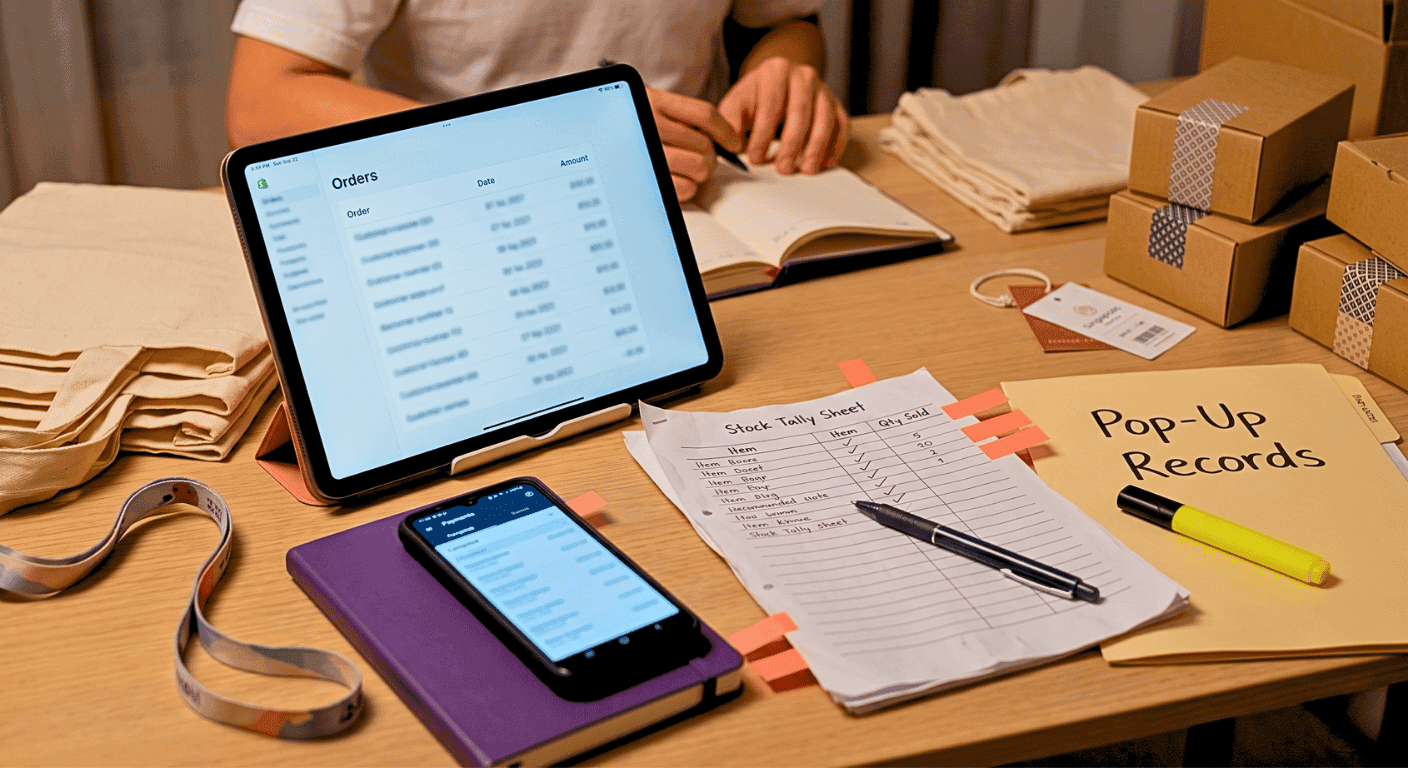
Step 10: Match nashi transactions to Shopify orders
Log in to your nashi dashboard and export the transaction history for the event date. Pull the Shopify orders filtered by your custom payment method for the same date.
Every nashi transaction should match a Shopify order. Investigate any gaps before leaving the venue. It's easier to fix on-site.
A nashi charge with no Shopify order means a sale wasn't recorded in POS. A Shopify order with no nashi charge means the wrong payment method was selected at checkout.
Step 11: Update inventory for anything not in your catalog
If you sold samples, custom bundles, or items you hadn't loaded into Shopify, update your inventory manually in Shopify admin. The nashi export gives you the payment amounts; your paper tally gives you the product details.
nashi settlements arrive in your bank account within two business days. If you have supplier payments due immediately after the event, factor this into your cash flow. The nashi dashboard shows a running balance so you can track what's settled and what's pending at any point.
Step 12: File your exports for accounting
Save both the nashi transaction export and the Shopify order history export for the event date. Keep them together--this is your audit trail for GST and bookkeeping.
If you're GST-registered in Singapore, Shopify order records include tax breakdowns per sale. The nashi export confirms payment receipt. Together they contain everything your accountant needs for the quarter.
Frequently asked questions
Do I need Shopify POS Pro to sell at a pop-up?
No. Shopify POS Lite is included free with every paid Shopify plan. It covers product browsing, custom payments, inventory tracking, and order recording.
POS Pro adds staff permissions, retail analytics, and loyalty tools for $129 SGD per month per location. Those features suit permanent retail locations, not occasional pop-up selling.
Can I use Shopify Payments Tap to Pay and nashi at the same pop-up?
Yes, but you'd typically choose one as your primary card method. Shopify Payments Tap to Pay keeps everything inside Shopify. Seamless, but at 3% + $0.50 SGD on Basic. nashi processes externally and requires the recording step in Shopify POS.
Running both creates confusion at checkout. Pick the one that fits your fee preference and stick with it.
Do I need wifi at the pop-up booth?
No. Both nashi and Shopify POS work over mobile data. A 4G or 5G connection handles both apps reliably at indoor Singapore events.
If the venue has strong wifi, connect to it as a backup. Event wifi networks are often overloaded when many vendors are online at once.
What if a customer wants to return something after the pop-up?
Refunds on card payments are processed through nashi. Open the transaction in your nashi dashboard and issue a full or partial refund. The amount returns to the customer's card within a few business days.
Update the corresponding Shopify order to reflect the return. Adjust inventory if the item comes back to stock.
Can I accept Amex at my pop-up?
Yes. nashi accepts Amex at 3.3% + $0.30. This matters at Singapore pop-ups drawing corporate clients, expats, or international shoppers.
They commonly carry Amex or foreign-issued cards. Shopify Payments Tap to Pay on Android also supports Amex.
What happens if my phone dies mid-event?
Keep a portable charger connected through the event. If the phone dies before you record a sale in Shopify POS, note the transaction details on your paper tally. Enter them manually in Shopify admin when you're back online.
nashi transactions are saved in the dashboard even if your phone restarts. You can reconcile from the dashboard history once you're up again.
How does a customer know their card payment went through?
nashi displays a confirmation on-screen immediately. It sends a digital receipt to the customer's email or phone if they provide one.
Send a Shopify receipt from the POS screen after recording the sale if the customer wants one. Two confirmations are better than none. Customers at pop-ups move on quickly.
Conclusion: Cards sorted, inventory synced
For Shopify merchants doing pop-ups in Singapore, the question isn't whether to accept cards. It's which setup makes sense for your volume and plan.
On a higher plan and wanting simplicity, Shopify Payments Tap to Pay on Android is the cleanest option. Everything stays inside Shopify--nothing to reconcile separately.
On the Basic plan, nashi offers the lowest in-person rates in Singapore for Visa and Mastercard. Amex and international cards are covered at 3.3% + $0.30. The two-app workflow adds a few seconds per transaction; the fee saving across a full day more than justifies it.
Either way, set your checkout up and test it before the event. The first time you run a card transaction at a pop-up should not be in front of a customer.
Try nashi for free. New merchants process up to $1,000 in fee-free transactions before any rate applies. That's a full pop-up's worth of transactions to try the setup in a live environment before committing.


